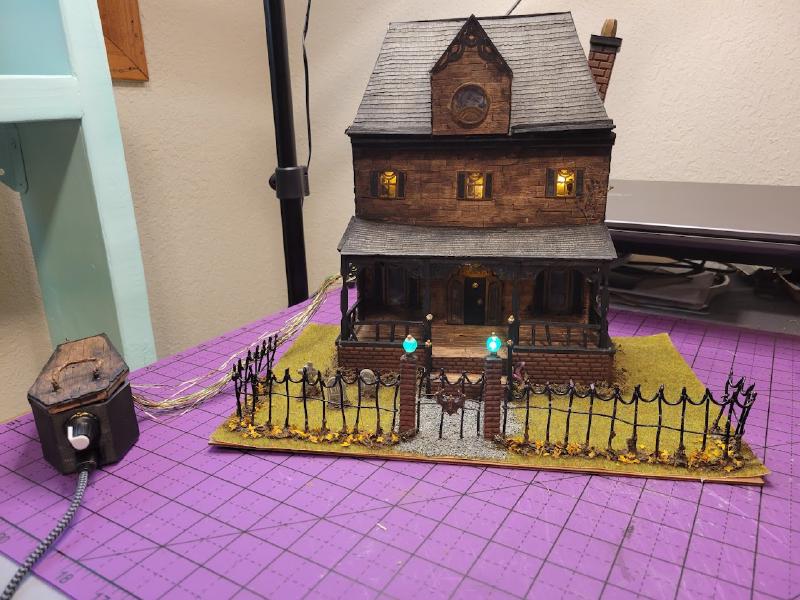
Project Overview
During the month of October, I designed and built a diorama of a haunted house facade, including programmed LEDs that revealed a ghost stalking the upper floors at night. I started out wanting to make the project entirely from scratch, but ended up designing a number of pieces in OnShape and printing them at home on our Creality printer. Many parts of this project were scratch-made, still, using materials like polymer clay, soldered wire, and random small items already in my craft supplies.
Process
Structure
The house itself is made up of two sheets of pink insulation foam cut to size, and then covered in paperboard cut-outs. The foam gave me a sturdy and lightweight structure to build off of, while covering it in paperboard ensured I had a nice, flat surface to work on (and also helped me limit the amount of actual contact I had with the foam over the course of the project).
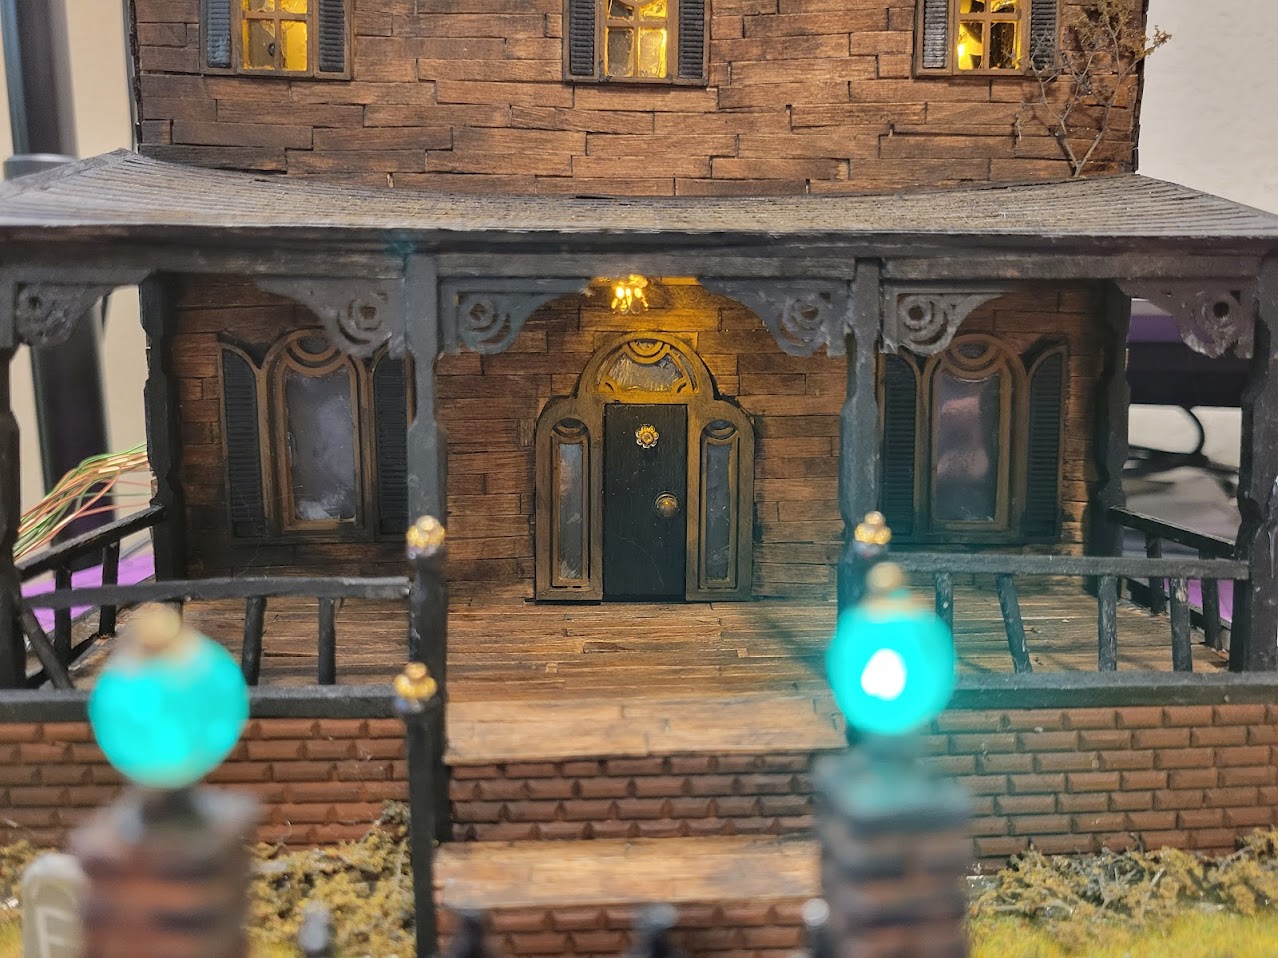
I originally set out to cut the windows and door out of balsa wood, but quickly found that I was having trouble getting a consistent cut across the pieces (I now have a Cricut Maker3 with a knife blade, which I’ved used in other projects to cut out small parts from balsa wood). Instead of struggling to make the balsa wood idea work, I switched tactics and designed the window and door frames, window shutters, and porch spandrels using OnShape’s cad tools and printed them out on our filament printer.
Luckily, I was still able to do a lot of scratch work on the rest of the house. The siding on the house and the planks on the porch/front steps are made from coffee stir sticks that were stained with some wood stain hiding in the back of our garage; the shingles on the rooves were HO scale farmhouse shingles purchased from a model train supply store; the porch railing and pillars were carved from various wood sticks; and decorations on the door and porch were made with random beads.
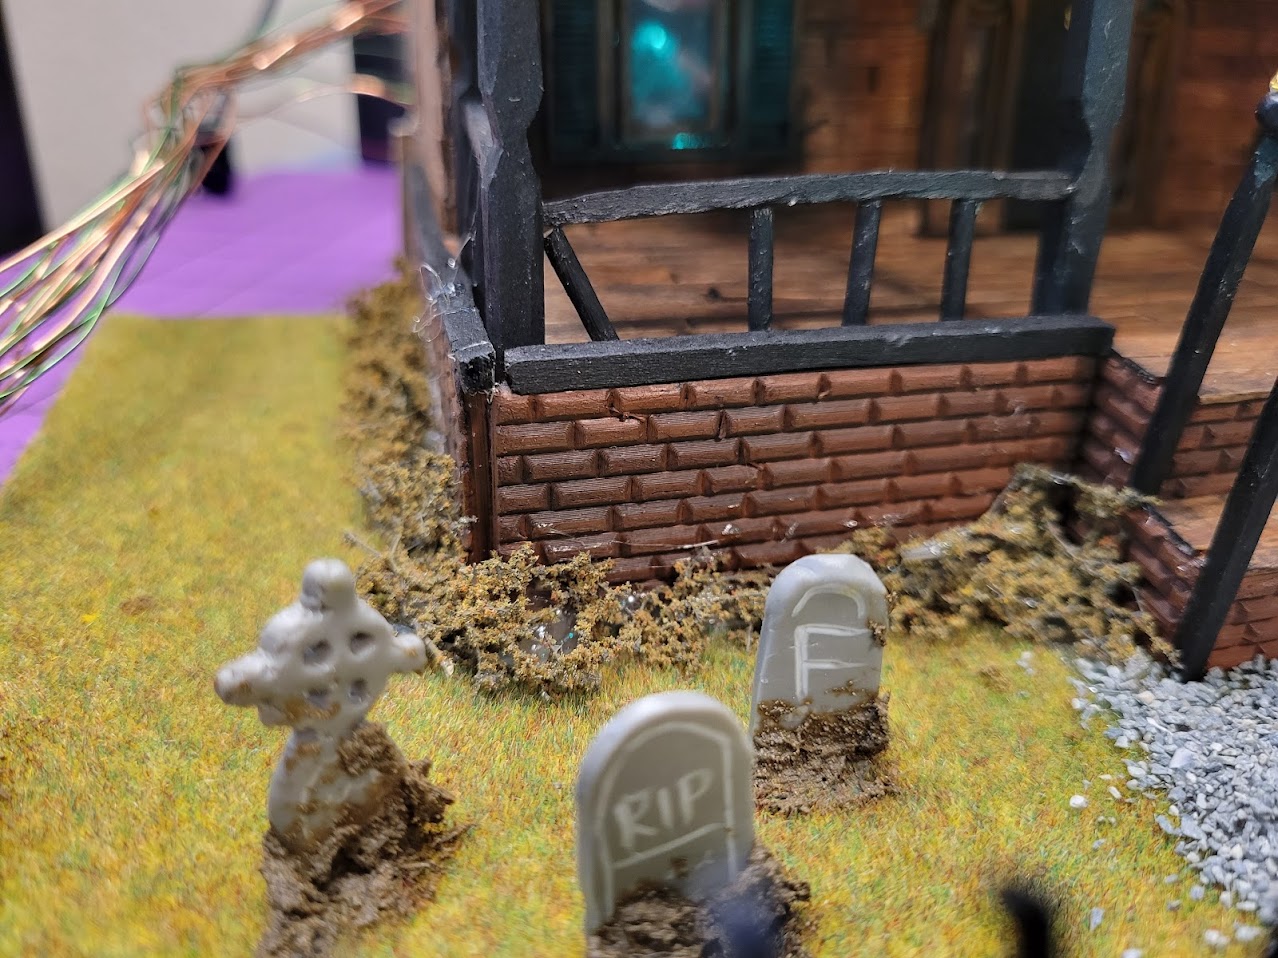
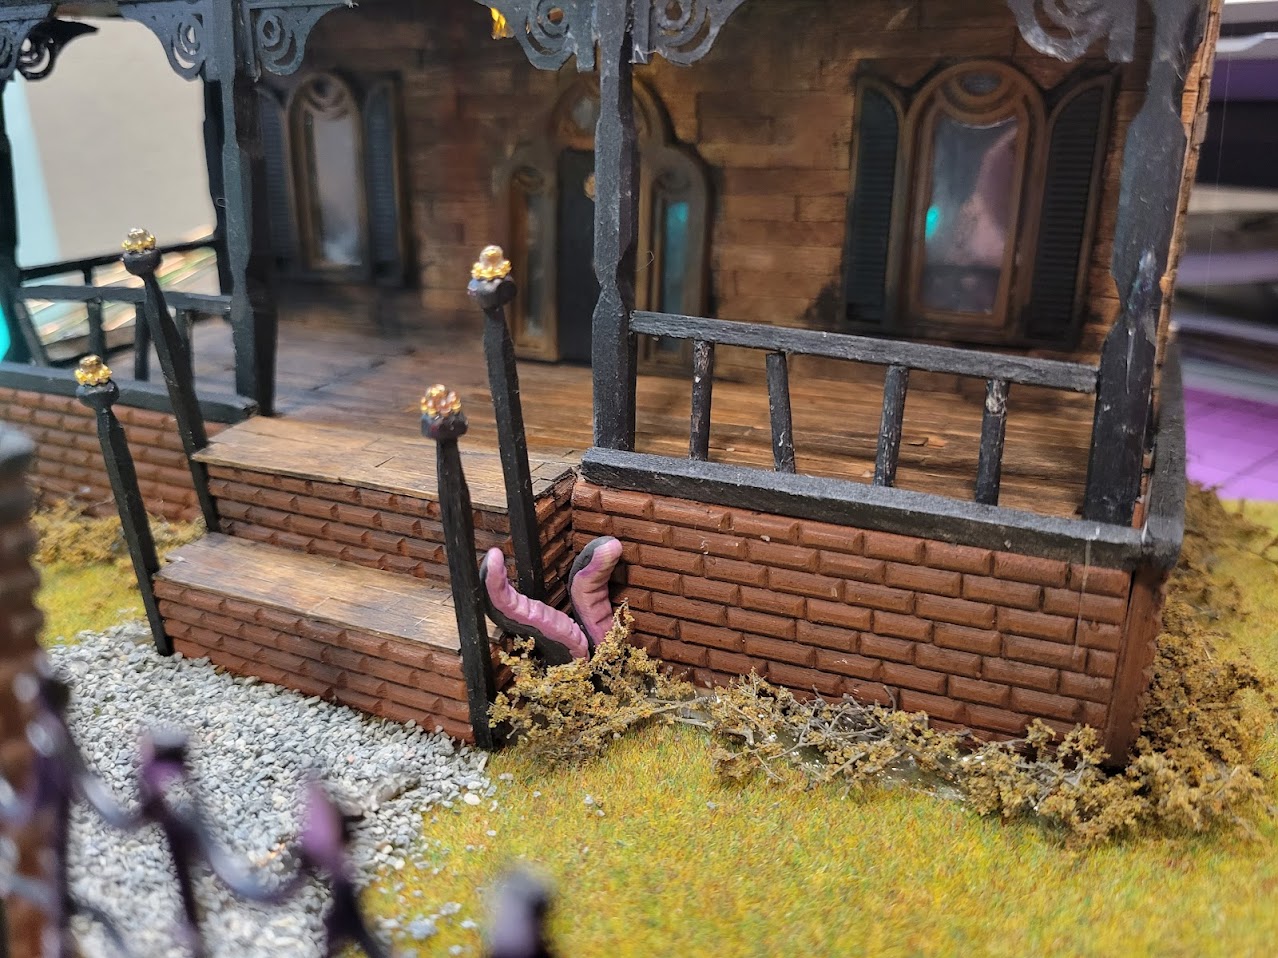
The foundation was another part that I originally wanted to make from scratch, and I ended up trying to make sheets of brick out of polymer clay. Due to a combintion of not really knowing how to use polymer clay effectively and having cheap materials to work with, they came out uneven and in general too thick to use. So, I scraped that plan and again turned to OnShape for an even, thinner brick sheet. To maintain the aged effect, I sanded down the surface of the bricks and hit some of them with rocks (to create damage), and then dry brushed dirt and general filth effects after painting them brick red to make them look dirty.
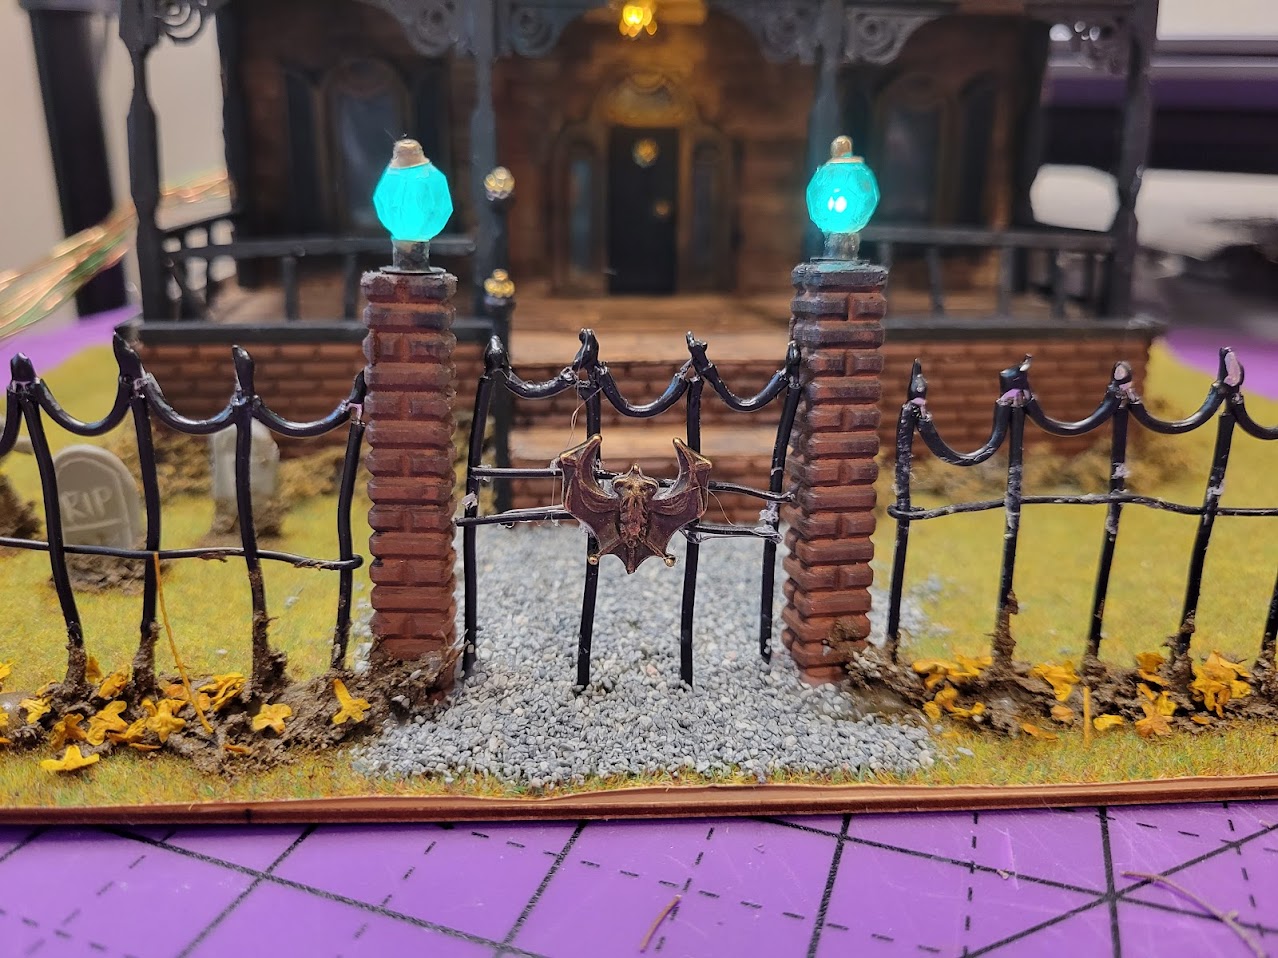
One feature that I think perfectly marries 3D printing with the principle of scratch crafting is the gate and fence. The brick pillars of the gate were simple to make at this point, since I already had the brick pattern ready in OnShape, and they provided a convenient place to hide the wires for the lights on top of each post. I particularly love the gate and fence - shoutout to my partner for his suggestion to make this by soddering wire. I used heat-resistant tape to hold the pieces in place while I connected them, and a quick pass with a black enamel paint pen on the tips finished it up. All in all, the entire fence and gate took only one episode of the X-Files (yes, this is how I measured how long the offline work for this project took).